
How to Pass the Hazard Perception Test: 7 Common Mistakes to Avoid
The hazard-perception section of the UK car theory test can be difficult if you are unsure what you should be looking for or when you should click.
You will watch 14 video clips featuring everyday road scenes. Each clip contains at least one developing hazard, and one clip contains two. You can score up to five points for each developing hazard, with higher scores awarded when you identify it early.
To pass the hazard-perception section, you need to score at least 44 out of 75. Understanding how developing hazards work—and avoiding some common mistakes—can significantly improve your score.
At Bee Free Driving School, we help learners understand hazard perception through patient, personalised 1-to-1 online theory test coaching. Here are seven common mistakes to avoid during your preparation and on test day.
What Is a Developing Hazard?
A developing hazard is something that would cause you to take action, such as changing your speed or direction.
For example, a parked car at the side of the road is a potential hazard, but it is not yet developing. If its indicator begins flashing and the vehicle starts moving into your path, the situation has developed and you may need to slow down or change position.
The key is to recognise the moment when a potential hazard begins to affect what you would do as a driver.
Mistake 1: Clicking Before the Hazard Develops
Many learners click as soon as they notice anything that could become dangerous. However, spotting a potential hazard is not the same as recognising a developing hazard.
If you click too early, your response may fall outside the scoring window and you may receive fewer points—or no points—for that hazard.
Keep watching the situation and look for evidence that it is beginning to affect your driving. This could include:
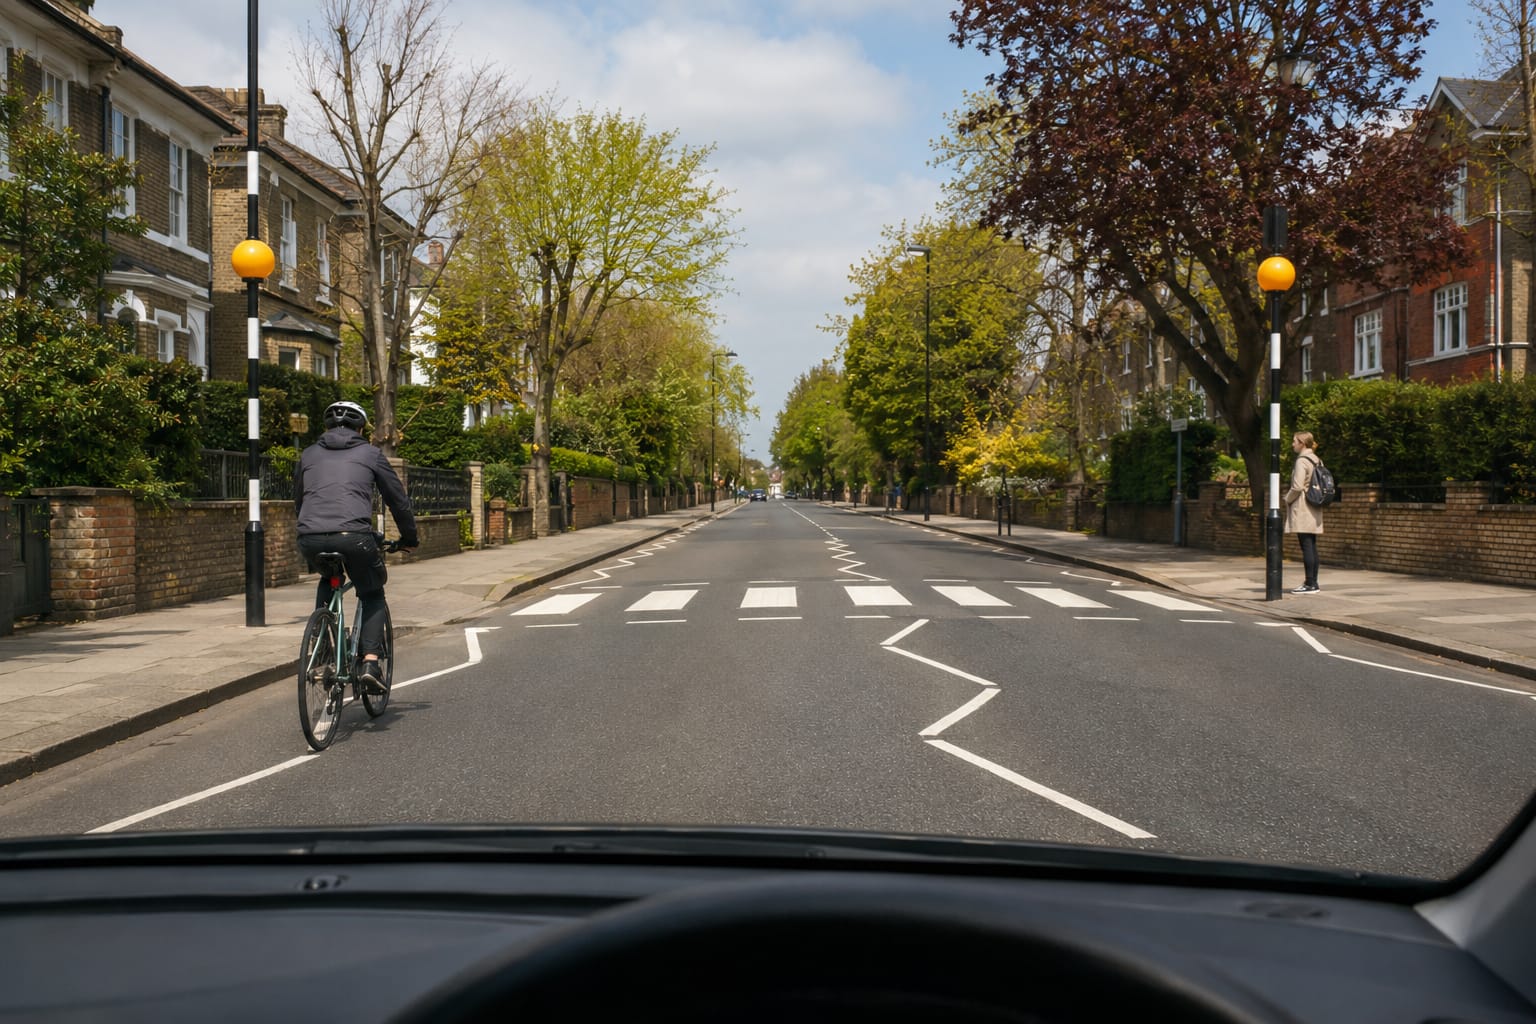
- a pedestrian moving towards the road;
- a vehicle emerging from a side road;
- brake lights appearing ahead;
- a cyclist changing position; or
- a parked vehicle beginning to move.
Respond when the situation starts to develop and you would need to consider changing speed or direction.
Mistake 2: Clicking Too Late
Some learners wait until the hazard is directly in front of them or until emergency action would be necessary. By this point, the scoring window may be nearly over.
Hazard perception tests your ability to anticipate danger—not just react when it becomes obvious.
To identify developing hazards earlier:
- scan well ahead instead of looking only at the vehicle in front;
- check pavements, junctions and gaps between parked vehicles;
- notice changes in speed, position and direction;
- look for clues such as indicators, brake lights and pedestrians checking traffic; and
- ask yourself what might happen next.
Early observation gives you more time to respond safely and can help you achieve a higher score.
Mistake 3: Clicking Continuously or in a Pattern
You do not lose points simply because you click and the situation does not develop. However, clicking continuously or using a repeated pattern can trigger the test’s anti-cheating system.
If this happens, you may score zero for that entire clip—even if you identified the developing hazard.
Avoid:
- clicking every second throughout the clip;
- repeatedly double-clicking;
- clicking at regular intervals; and
- clicking at almost everything you see.
Each click should be a genuine response to something happening in the road scene. Stay observant, click when you recognise a developing hazard and continue watching in case the situation changes further.
Mistake 4: Focusing on Only One Part of the Screen
A developing hazard can appear anywhere in the road scene. If you concentrate only on the vehicle directly ahead, you may miss important clues at the sides of the road.
Use a scanning routine that includes:
- the road well ahead;
- side roads and junctions;
- pavements and pedestrian crossings;
- parked vehicles;
- cyclists and motorcyclists; and
- mirrors shown within the clip.
Keep your eyes moving and build a complete picture of the scene. This is the same observation skill you will need when driving on the road.
Mistake 5: Stopping Concentration After You Click
Identifying one developing hazard does not mean that you can stop watching the clip. The situation may continue changing, and one of the 14 clips contains two developing hazards.
After responding to a hazard:
- continue scanning the whole scene;
- watch how the situation develops;
- look for other road users who may be affected;
- remain alert for a second developing hazard; and
- keep concentrating until the clip ends.
Treat every clip as an unfolding driving situation rather than a single moment that ends after your first click.
Mistake 6: Memorising Practice Clips
Practice clips are useful for learning how hazard perception works, but you should not rely on memorising when hazards appear.
The clips in the real test will not necessarily be the same as the ones you used during revision. If you only remember where to click in familiar clips, you may struggle when presented with a different road scene.
Use practice sessions to develop transferable skills:
- identify potential hazards;
- predict what different road users might do;
- recognise when a situation begins to develop;
- explain why you decided to respond; and
- review clips where your score was low.
Your goal is to improve your observation and anticipation—not memorise a sequence of clicks.
Mistake 7: Not Practising Under Test Conditions
Watching a few clips casually is not the same as completing the hazard-perception test when you need to remain focused across all 14 clips.
Before your test, practise under realistic conditions:
- use a quiet space without interruptions;
- complete a full set of clips in one session;
- avoid pausing or replaying clips;
- use the same mouse or screen you normally practise with;
- review your total score at the end; and
- identify why you scored poorly on particular clips.
Aim to score consistently above the pass mark, rather than relying on one successful practice attempt. Regular full-length practice can improve both your technique and concentration.
Ready to Improve Your Hazard-Perception Score?
Passing hazard perception requires observation, anticipation and correct timing. With regular practice, you can learn to recognise developing hazards earlier and respond without clicking continuously or guessing.
If you have already failed your theory test, read our guide explaining what to do before booking your next attempt.
Bee Free Driving School provides patient, personalised 1-to-1 online theory test coaching with experienced DVSA Approved Driving Instructors. Our sessions include hazard-perception guidance, practice clips, mock tests and support with difficult theory topics.
Find out more about our online theory test coaching or book your 1-to-1 theory session today.